https://computerinfobits.com/parts-of-computer-and-their-functions/
So, you’re ready to set up your own PC? Excellent choice! Building your own PC can be a challenging task, but trust me, it’s worth it.
Well, let me tell you why building a PC is better than buying a pre-built one. Because you have complete control over the components you choose. You can customize everything from the processor to the case. This means you can build a PC that’s perfectly matched to your needs, whether that’s for gaming, video editing, or just simple web browsing. Plus, building your own PC can often be more cost-effective in the long run.
Choosing the Right Parts
Choosing the right parts is crucial in building a brand-new PC. Don’t just go for the ones that look cool. Research and compare the different components available in the market carefully. It will save you money and time.
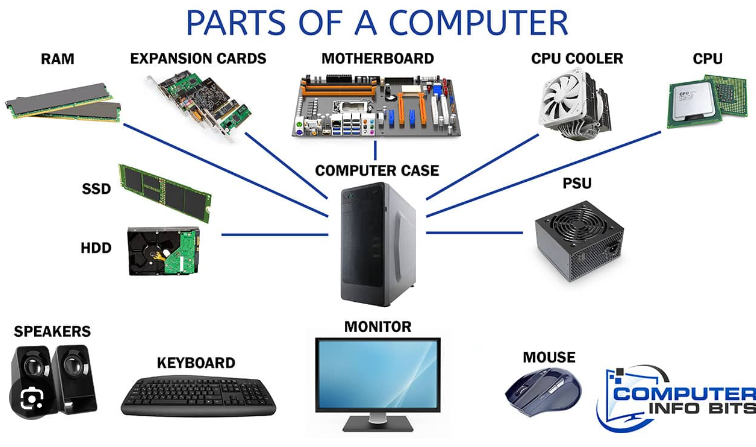
First, the CPU is the most important part that determines the performance of the system. The decision to go for Intel or AMD CPUs entirely depends on personal taste. Next is the Graphic Processing Unit (GPU), the graphics card is responsible for showing images and videos. If you’re a gamer, then you need to select a graphic card with having higher clock rate, higher memory, and higher bandwidth. I think Nvidia has the best and latest graphic cards which is more suitable for gaming.
The motherboard is the backbone of the system, so choose one that is compatible with the CPU and other components. It is better to go for a motherboard with built-in Bluetooth and Wi-Fi. For RAM, a higher frequency (MHz) ensures fast load times and multitasking.
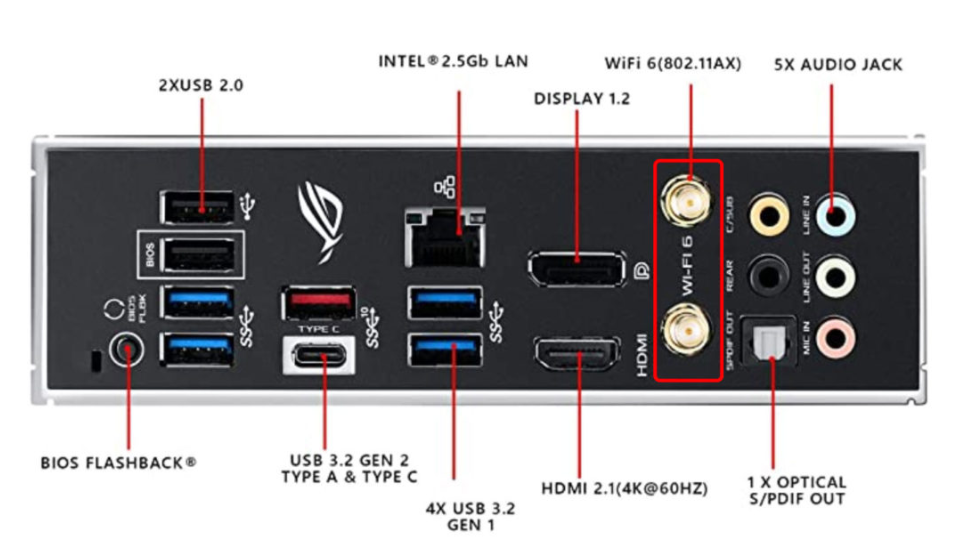
Motherboard with built-in Bluetooth and Wi-Fi
For storage, SSD and HDD both have their pros and cons, go for an SSD if you can. Because it uses less power, is easy to access the data, faster, and more reliable. If something is wrong happens to devices it is easy to get the data back up from the SSD rather than from the HDD.
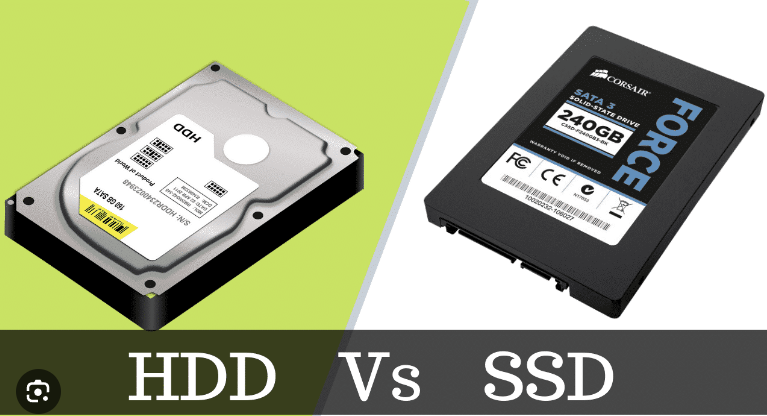
Hard Disk Drive and Solid State Drive
Power supply recommendations vary based on the power draw of the other components; hence the choice of power supply should be relative to the entire setup. Coming on to cooling, there are air coolers and liquid coolers. Liquid coolers are expensive, but they perform better and keep your system quieter. Cases come in all shapes and sizes, choose a decent one that fits your entire setup comfortably, offers good airflow, and has good cable management options.
Building the PC
Building a PC may seem like a difficult task, but it’s actually pretty simple and can be a fun experience. Before you begin, ensure that you have a clean, clutter-free workspace. Find a place to build that has good lighting and is away from any carpets or soft surfaces.
- The first step is setting up the motherboard and CPU. It’s important to handle both with care and avoid touching any pins or connectors. If the pins are bent it won’t work well. Install the I/O shield from the inside. You will hear a clicking sound. That means it is perfectly placed. Secure the motherboard with a few screws into the case and properly align it.
- From there, carefully lower the CPU into the socket and secure it in place. Next up, installing the RAM and storage. Simply align the RAM with the slots on the motherboard and push down until it clicks into place.
- For storage, connect your SSD or HDD to the motherboard and power supply. Now connect the power supply unit to the motherboard and carefully connect all USB cables. Connect the power cables to the motherboard and storage devices, and then connect the graphics card.
- The final steps are to mount the graphics card and add a cooling fan. Carefully align the GPU with the PCI slot and secure it. Then, attach your cooling system to the CPU and place your case fans. Remember to plug the fan header into the motherboard.
- Close up the case and we’re almost done! Remember to properly set up your BIOS and install your preferred OS before installing drivers and essential software.
Setting Up the BIOS and Installing the OS
First, you need to access the BIOS. It’s software that controls your hardware. To access it, repeatedly press F2 or Delete, but it can differ for different computers. Once inside the BIOS, you need to adjust some settings. But before that, take time to explore the options available in the BIOS.
Next, it’s time to install the operating system. You need to have a bootable USB with an operating system of your choice. Connect the USB, restart the PC, and boot it with the USB. Follow the instructions to install the OS. Once the installation is complete, restart the PC again.
Installing Drivers and Essential Software
Next, it’s time to install the drivers, which is usually a straightforward process. Just follow the on-screen instructions and allow the installation wizard to do its job. If you’re not sure which driver to install first, you can go to Windows update go to advanced options click on the optional update setting. Click on the driver update setting and select the driver your device is missing.
After installing the drivers, it’s time to install the essential software like web browsers, media players, and antivirus software. Again, make sure you download them from known sources so that you won’t face any trouble after installation. Don’t forget to customize the settings and preferences of the software to match your usage.
Conclusion
Congratulations! You’ve successfully built and set up your brand-new PC. It’s time to enjoy the result of your labor and start using it for all your computing needs. Just remember to keep the software and drivers updated for optimal performance.