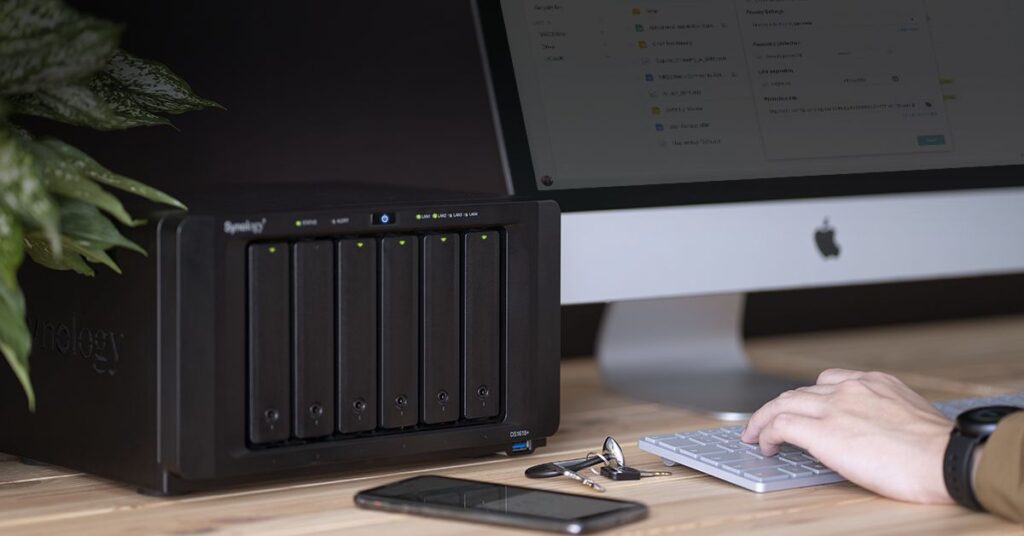
Synology is a Taiwanese corporation that specialises in NAS appliances. NAS drive, also known as a Network-attached storage drive, is an intelligent storage drive that connects to our home or office network. It helps store essential files and documents like our photos, videos, music and private records on the NAS. Also, accessing these files and using other services provided by the NAS or the internet is straightforward. NAS is often used by small businesses or for home purposes.
Why do we need NAS Drives?
Even though nowadays computers and mobile phones come equipped with lots of memory and storage, we still run out of space. The number of digital files keeps increasing due to the size and quality of pictures, videos and files. They are scattered across different devices and platforms.
In these cases, a Network-attached storage drive, in short NAS, helps us to consolidate these files into one safe place or storage that is secured and centralised. It’s like having our private cloud with 100% data ownership at zero additional cost. There are other platforms like google drive, dropbox which are public cloud and does the same job storing our files. But storing files on these public cloud means letting someone else hold all our files. There are also risks of cyber hacking and theft of our private files. They also charge high monthly subscription fees based on our storage. And USB drives, on the other hand, lack off-site access, lacks security and automatic backup to portability which can lead to loss and damage of our files.
In conclusion, I would say, Synology NAS is the best alternative and a necessity for modern homes and small-scale businesses.
What can Synology NAS do for us?
Synology can help us with lots of things—like keeping our files always up-to-date and protected, tracking how our files are accessed and sharing them with powerful admin tools, and editing spreadsheets, documents, and slides with Synology Offices.
Fig: PC and Mac automatic backup
Back up PC and Mac automatically: Nas drive allows our business or personal files to be synchronised with NAS. This drive supports restoring previous versions and sharing files directly from local computers to maximise efficiency. Mac users can also back up their data with Synology NAS through Time machine.
Fig: Backup process for iOS and Android
Photo and video backup for iOS and Android: All our files, videos, documents and photos on our mobile phones can be backed up automatically to a NAS drive with Synology photos. There is also an AI feature that helps assemble pictures with similar faces and locations or subjects.
Fast file sharing between two offices: Employees can share files across branch offices through the NAS point-to-point drive share sync function. The employees of different branch offices will always have access to up-to-date files on their local NAS using SMB/AFP.
Efficient data synchronisation from the cloud: NAS has a hybrid data share that allows people and employees to host data on the cloud and sync it to the local NAS at branch offices. Employees can download the critically needed data and store it in their fast local cache at every office. This will help the team to stay in sync with the latest file versions while saving bandwidth.
Streamline cross-office file sharing: Synology NAS drives are straightforward for syncing data between two or more offices. With the Drive ShareSync and Hydrib share, sharing files has never been easier.
Fig: Data sync between two or more offices
Synology NAS drives are straightforward to use and are budget-friendly. They provide various time-saving services. Synology Nas also offers more extensive storage space without monthly subscription fees. Big firms like National Research Foundation (NRF) and South Africa Institute for Aquatic Biodiversity (SAIAB) use Synology drives to empower their business worldwide.
How to Boot Setup a Synology NAS Drive:
After we have wired up all the necessary setup for NAS Drive, it’s time to boot it up for the first time. NAS drive is only a device and doesn’t come along with a mouse, keyboard or monitor with it. To boot it up, we need to press the power button and head to any computer on our local network. Then, we need to open our web browser and go to http://find.synology.com; then, we will see the startup wizard screen as seen below: Click connect to configure the Synology NAS.
Fig: Startup Wizard Screen
After that, we need to create an administrator account. Our username and password can be anything we want. Suppose we are to make a username and password for the administration account of our NAS the same as the username and password of our windows PC. In that case, we can access all the network shares on the NAS from our Windows PC without entering a password or username.
Fig: Creating a new administrator account
Then after setting up an administrator account, we can create a Synology account and a Quick Connect ID. This step is optional, but if employees plan on accessing Synology NAS outside the network for any purpose, then Quick will allow them to access the files without the need to configure settings later.
After setting up or skipping the Quick Connect step, Quick Connect ID will take us to a different page, where we can install some Synology recommended packages or ignore them. Once we are done with the basic setup process, the wizard will close, and it will take us to the Disk Station Manager, where it will guide us through its user interface. We will get all the main menu and desktop shortcuts on the left-hand side of the screen, whereas the start menu-like button will be at the top of the screen.

