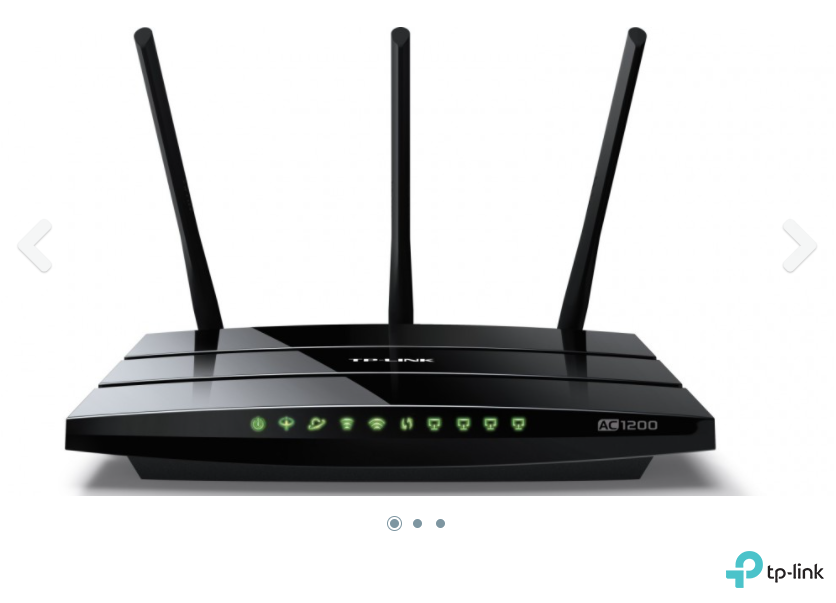
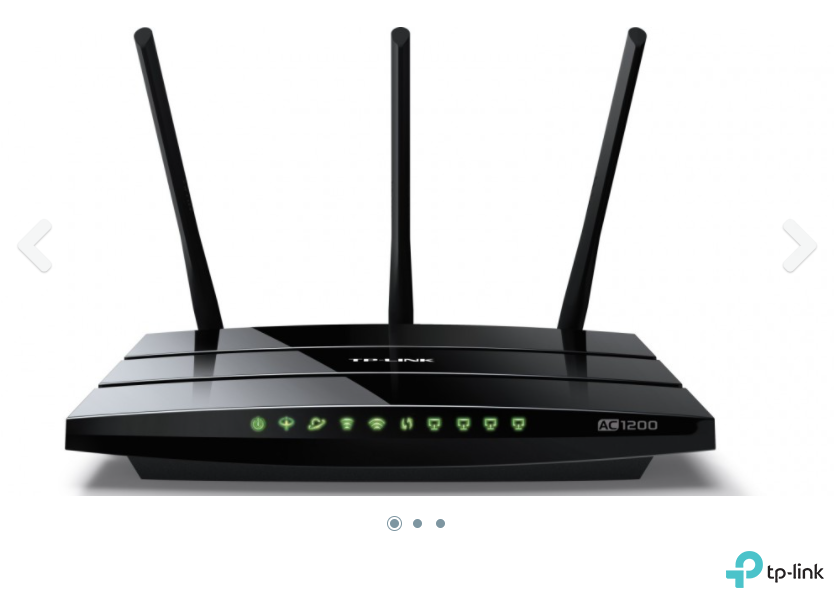
This blog is the first part of the Internet Security for Home Users series. Throughout this series, you will learn tips and tricks to keep your home internet secured with the use of network troubleshooting, modem configuration, firewall setup, and VPN usage among others. This particular blog will cover everything you need to know about a modem, a primary piece of hardware to connect to the internet in your home, and how to set one up.
What is a modem and what does it do?

A modem is hardware that connects your home network to the internet.
In simple words, a modem does two things. One is transforming digital information on your computer into analog signals so that it can be sent through wires such as phone lines or coax cables depending on the type of internet you have. Another is translating the incoming analog signals transmitted through the wires back to digital data on your computer.
Now that you know what a modem is and what it does, if you are looking to get one, you can purchase one here.
How is a modem different from a router?
As opposed to a modem, a router alone cannot connect you directly to the internet. A router must be plugged into a modem so that the digital traffic can be transmitted. In other words, while a modem connects you to the internet, a router acts as an intermediary network in your home by allowing the wired and wireless devices on the same network connection to communicate over the local network. With the use of a router, all the traffic from your house will look as if it is coming from a single device.
While it is common for internet providers to provide you a 2-in-1 device that serves as both modem and router, it is important to note that modem and router are different technologies and that both technologies are necessary to provide your home an internet connection. It is also possible to use a separate modem and router because the modem technology does not change that rapidly. Therefore, if you choose to have a stand-alone modem, it should be able to last for years.
How to set up a modem?
1. Connect your modem
1.1 To your computer
Plug an end of an Ethernet cable into the Ethernet port on the back of your modem and another end into the Ethernet port on your computer.
1.2 To your cable outlet
Depending on the type of internet service you have, you will need to plug it into your wall to be connected to the internet. The only difference between the DSL and the cable internets is that the DSL internet requires you to plug a phone cord into a phone jack whereas the cable internet requires you to plug a coax cable into a cable outlet.
1.3 To a power outlet
Connect the power cord to your modem and plug it into the power outlet. It could take up to two minutes, but the modem should light up after it is plugged in.
2. Test the connection
Once your modem is booted up, the first step should be testing the connection. Simply follow the below steps:
2.1 Open a web browser
Any browser will do so please feel free to use any browser you are familiar with.

2.2 Navigate to a search engine
You can use any search engine for this. In case that you cannot think of a specific website, please just type www.google.com in the URL bar. If the page loads and you can see the below screenshot, you already have an internet connection. If that is the case, please skip the troubleshooting step and proceed to set up the modem and network (Step 3).

2.3 Troubleshoot
If the web page is having an issue and is not loading, please try the below steps to troubleshoot. If the problem persists, please feel free to contact BITS for professional help.
- Try a different website
- Try a different device
- Reboot your computer
- Check your cable connections
- Reboot your modem
- Register your modem’s MAC address: The modem’s MAC address is required for the internet service provider to connect you to the internet. It is normally listed on a label attached to your modem.
- Ensure that you are connected to the right network
3. Set up the modem and network
3.1. Type modem’s IP address into the URL bar
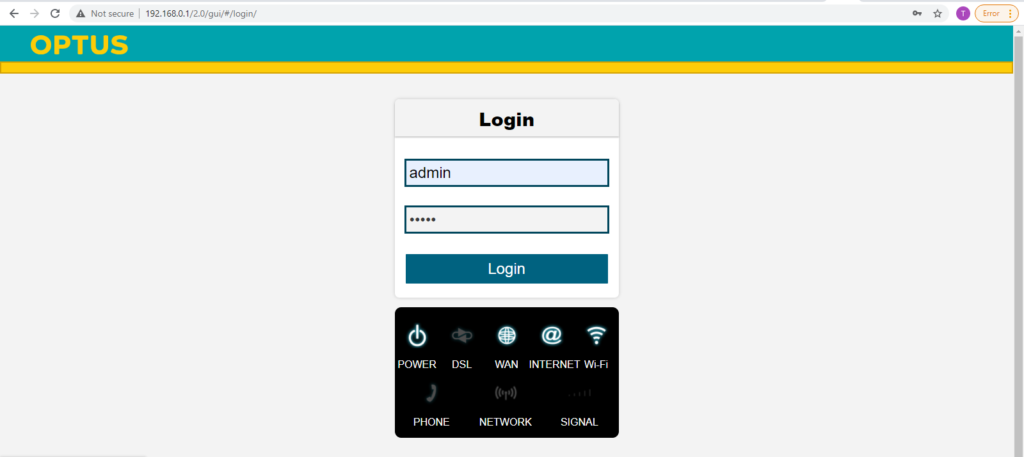
This step is to access your modem’s administration panels. Common modem’s IP addresses are either 192.168.0.1 or 192.168.1.1.

3.2 Log in with the default username and password
Typically, the default username and password are “admin” or something along that line. In any case, you should be able to find such information in the manual.

3.3 Set up a new password for your modem
Please also consider changing your security protocol to a more secure one. Please note that the most secure options are WPA2, WPA/WPA2, and WPA-AES.
4. Rename your network.
If you are unsure what to name your network, here are the best network naming practices:
- Do not include personal information in your network name (SSID). Avoid using your names, addresses, or your company name so that hackers cannot easily target you.
- Do not use the modem/router name as that informs hackers of the model you are using and makes it easier for them to identify the weakness of the said model.
- Network names are case sensitive. “RouterA” is not the same as “routera”
- Avoid special characters (i.e. pipe, dot, dash, and ampersand) as they can cause connection issues.
5. Connect your device to a wireless network
For Windows, you can follow below steps:
1. Click Start
2. Settings > Network & Internet > Status > Network and Sharing Center
3. Choose Set up a new connection or network > Set up a new network > Next
4. Click the Network icon in the notification bar
5. Choose the SSID you created in step 4 and click Connect
6. Enter the security key or password to be connected to the network
For Mac, the steps are similar to the last three steps of the Windows above.
1. Click the network icon in the menu bar. The icon will show a list of available networks.
2. Select the network name you created in step 4 from the list.
3. Type in the security key or password and click Join

