In the modern age access to a computer system has become mandatory since the world is moving towards technology. It has increased more rapidly after the pandemic broke where all the organizations and institutions were forced to begin their functioning remotely from their home. The educational institutions also have gone digital to teach the students even in lockdown periods. The system-based workload has increased in recent years due to the vast advantages it gives but has gained intensity due to the need created by the pandemic all over the world. Since the world is getting more and more digital it becomes a necessity to have a personal computer with good specifications. We should choose the components of the system wisely as it is not something that most people could afford regularly because the components are not much cost-efficient.
Choose the right CPU cooler:
As the tasks are processed the CPU has a temperature rise which could lead to system crashes or even damage hardware. To get the temperature rise in control and prevent the prior mentioned incidents we use a CPU cooler. That is why while building your PC choosing the right CPU cooler for yourself is as important as it is to choose the right CPU itself especially if you are going to use the system for high processing jobs like gaming, or video editing. The choice you make in the CPU cooler would make a considerable difference in the noise that your system would produce. So, getting the best CPU cooler for yourself become very crucial to achieve the full potential of your system with the lowest possible noise.
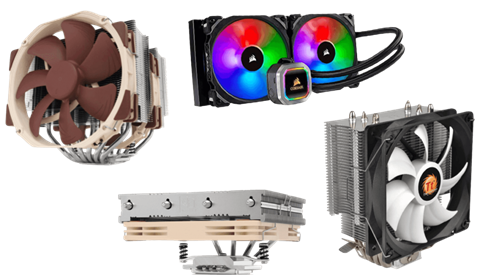
Fig. Link: https://premiumbuilds.com/wp-content/uploads/2020/04/Quietest-CPU-Coolers-1024×597.png
CPU coolers are manufactured in various shapes and sizes. The appearance of the CPU cooler also has various forms like a special design, completely plain, or RGB lights. But all this comes under three standard categories that are air, closed-loop, and Custom coolers. Custom cooling setups are to date most expensive and compound among the three. But the outputs that they give are completely off the charts.
- Air Coolers: These forms of air coolers are most famous and used across the globe since it is affordable by most. They are manufactured in all shapes and sizes with differences in their output.
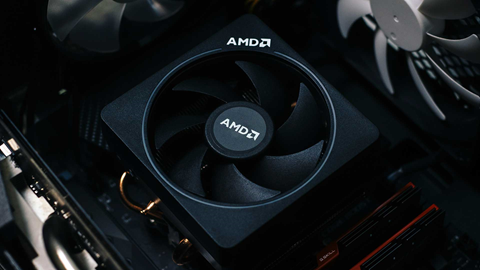
Fig. Link: https://cdn.levvvel.com/wp-content/uploads/best-air-coolers-for-ryzen-cpus.jpg
The best air coolers of today can even compete with the output shown by the custom liquid coolers that were occupying the market in past years. The range of these starts from 25 dollars and can get as high as 100 dollars. These are the most affordable CPU coolers.
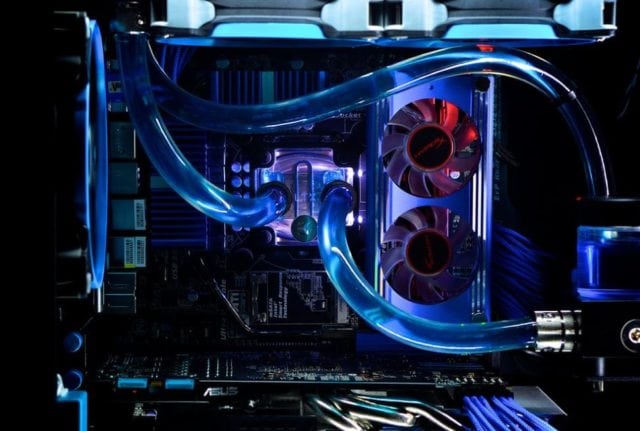
- Custom/open or Closed-loop coolers: Unlike the air coolers these forms considerably make less noise, but exceptions may occur sometimes. With time the evolution of Custom coolers, they have become easier to install and does not require much maintenance. If a strong air cooler or custom isn’t enough for the processor speeds you’re aiming for, the next phase is to go for a totally bespoke cooling loop with bigger radiators capable of removing even more heat generated.

Fig, Link: https://www.picochip.com/wp-content/uploads/Liquid-cooler-e1535983177304.jpg
In general, the larger the custom-loop cooler’s radiator, the smoother it will function. But if you are not after great speed there remain very fewer reasons to choose a high-end cooler. But sometimes the noise plays an important role in the choice. Their cost can start from 60 dollars and can go as high as 150 depending on the variety that you choose. The manufacturing company or the appearance also affects the price of the device.
Steps to Install the CPU cooler
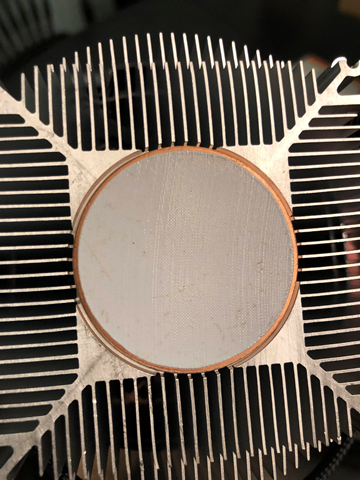
- Smear Thermal Paste: Thermal paste is applied between both CPU and cooler to close the gap and improve performance. Using it is optional of course and depends on the user. Both AMD and Intel already manufacture coolers with thermal paste priorly smeared.
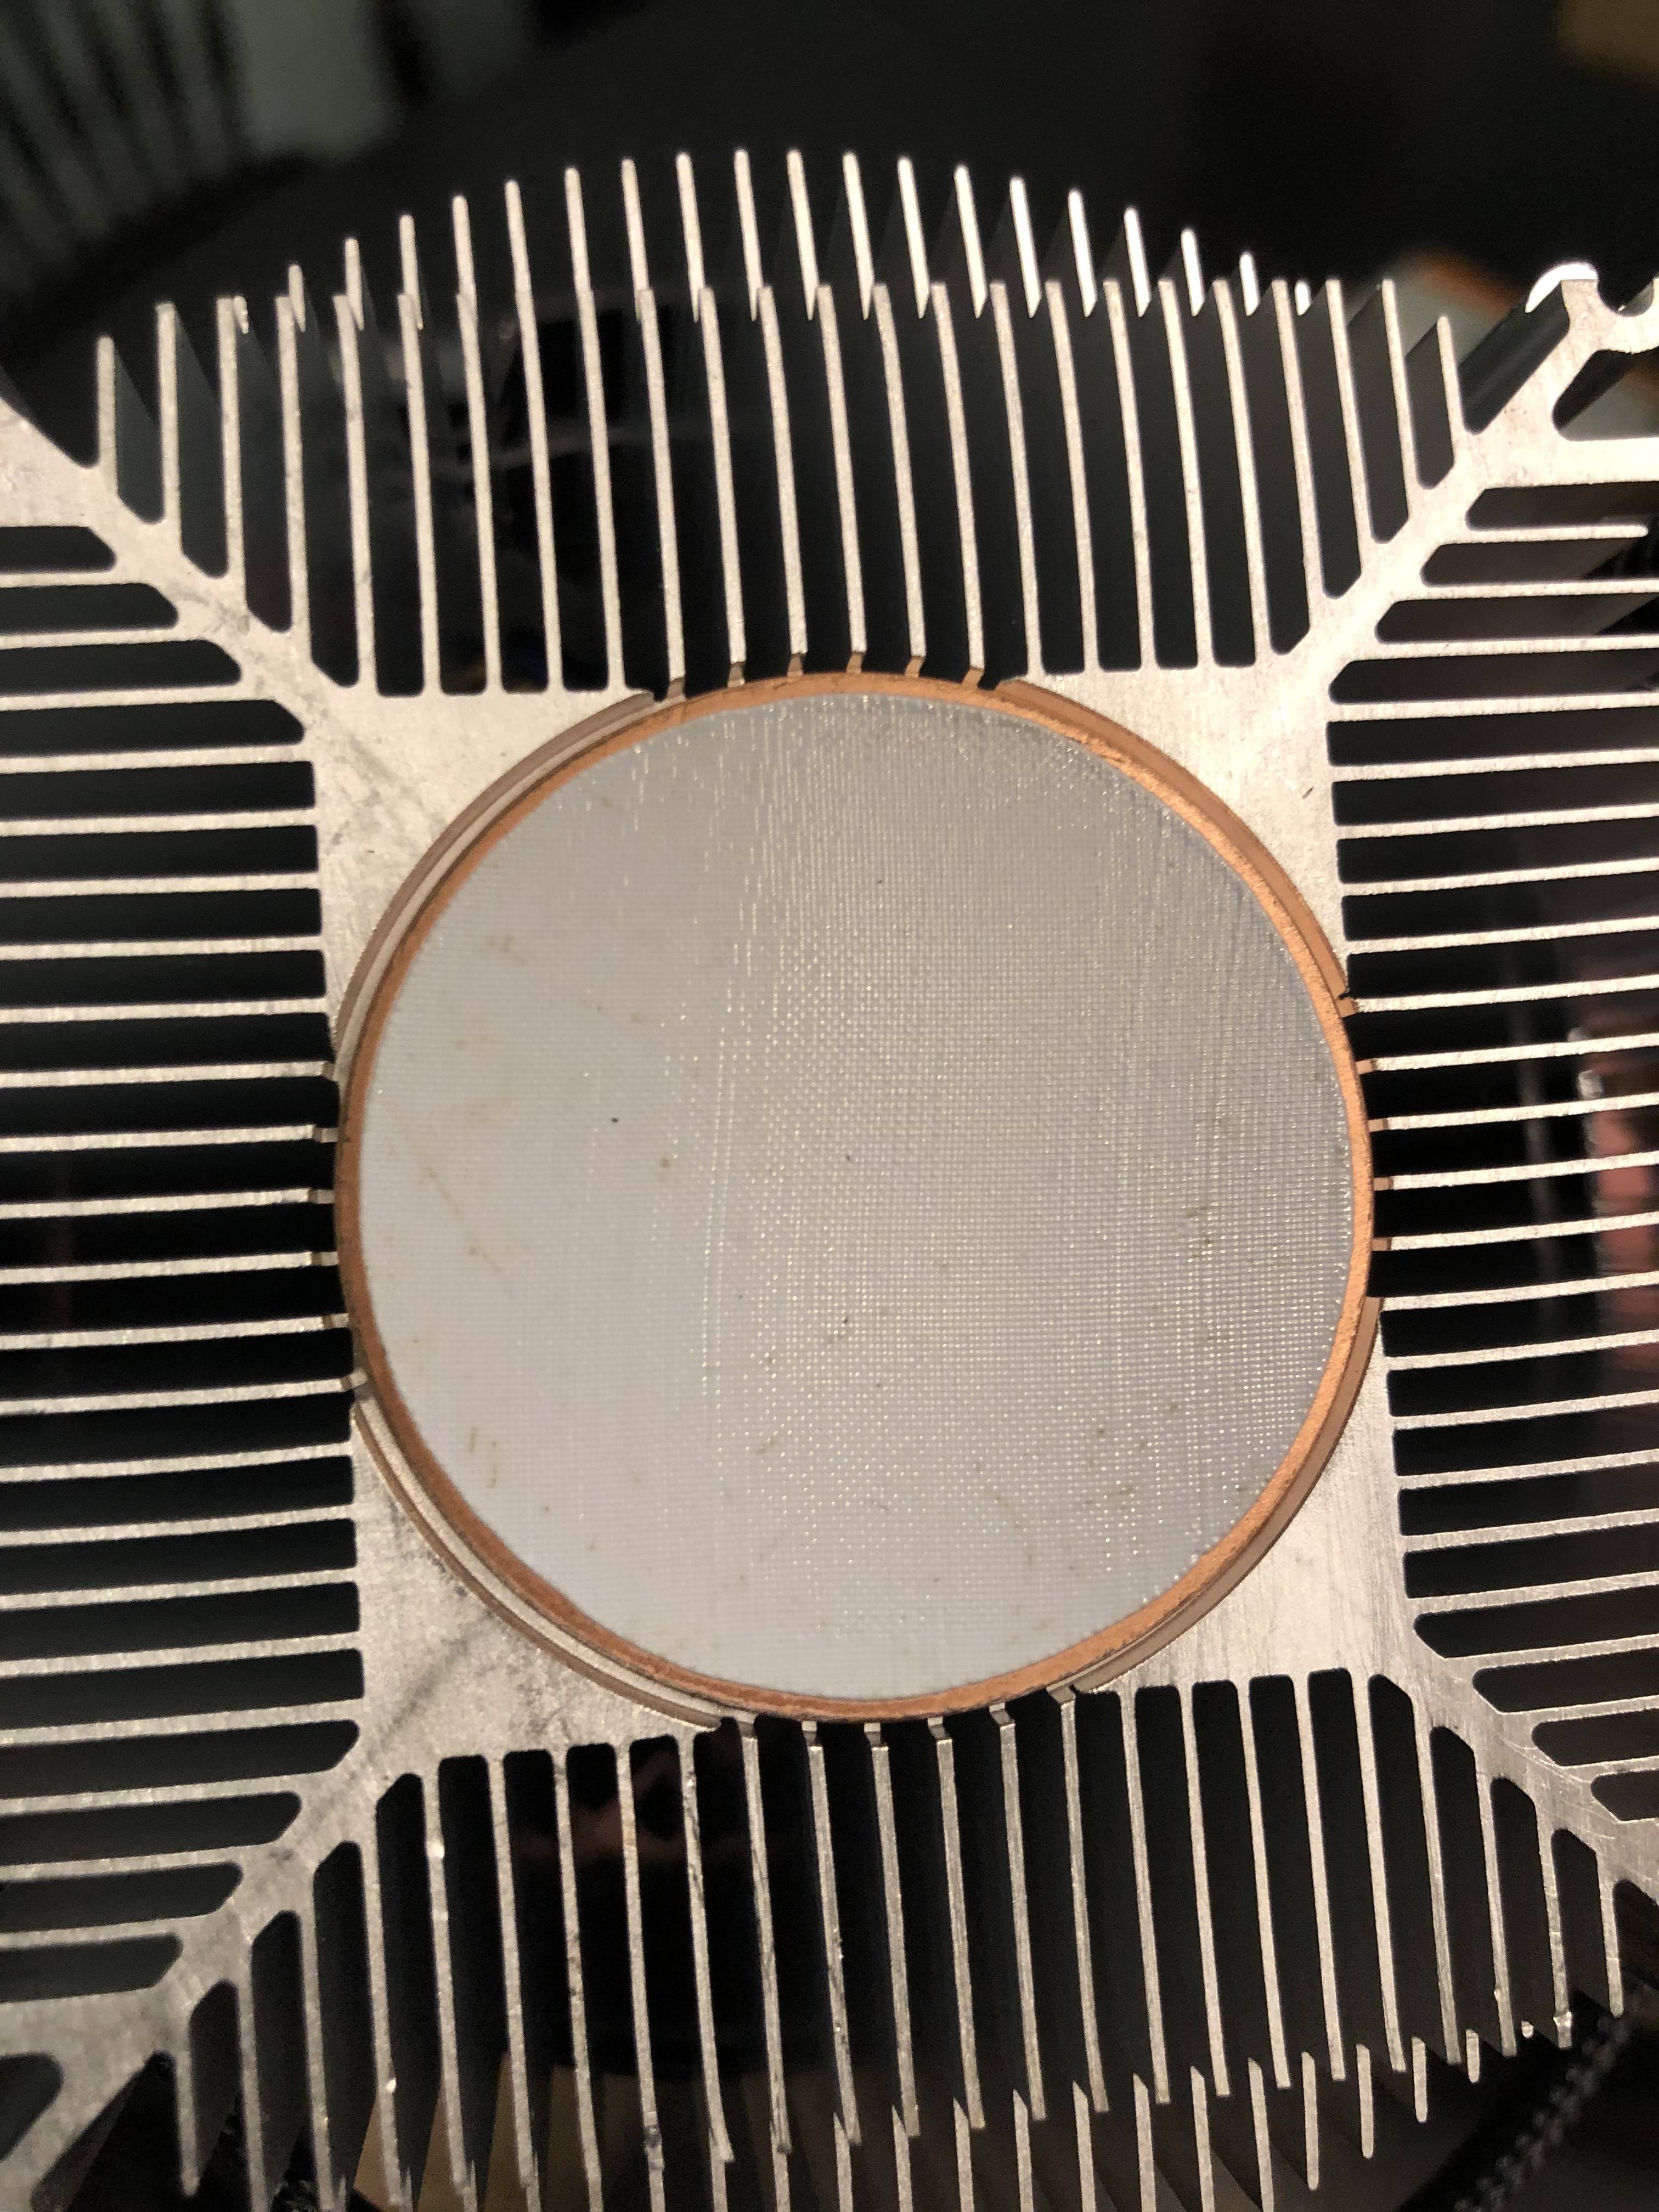
So nowadays there is no requirement to buy it separately and smear. There are various qualities of thermal paste but the best quality also can make a slight difference.
- Install CPU cooler onto the motherboard: Before mounting the cooler on the motherboard you must first locate the position of the power connector. This would make the cable management considerably easy afterward. The plug where the cooler must be connected with the motherboard is mentioned on the motherboard and the manual can be used for reference if you cannot find it. You need to keep planning the next step while doing the prior one. So that you do not find an error after mounting only to re-mount. AMD coolers have only two ways to be installed so using them you do not need to worry much. The cable would reach either way you mount it. On the AMD-based motherboard, there should be slots for mounting the cooler on either side of the CPU slot.
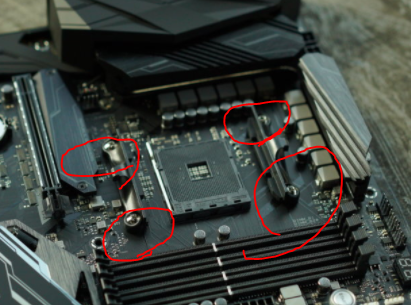
Fig. Link: https://forum-en.msi.com/index.php?attachments/1604667599784-png.142423/
You need to place the cooler carefully so that the pins at the bottom of the cooler are perfectly lined with the slots given on the motherboard. Firmly secure the cooler with the help of the slots and the clips on the cooler. After fastening the clips to the frame, you must additionally secure the lever arm on one of the cooler’s edges by elevating it.
- Connect the cooler cable to the motherboard: Since the cooler is now firmly secured all that is left to do is connect the cable with the motherboard. There should be a slot with a “CPU_FAN” label or something with a similar meaning with a coded pin connector.
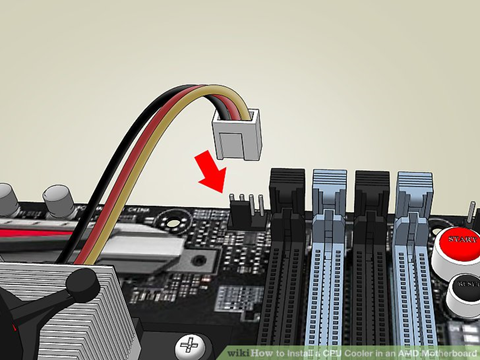
Carefully manage the cable so the cable does not get in the cooler’s way. The cables should be placed as far away as possible from the blades. If the cooler you are mounting has RGB, you have to plug the additional cable into the USB port that is already provided in the motherboard for the RGBs to work. This is all which is needed to be done in order to mount an AMD cooler onto a motherboard.