Making a bootable CD is a process that allows you to create a CD that can be used to boot a computer and start an operating system or program. Here’s a step-by-step procedure on how to make a bootable CD:
Prepare the bootable image file: Before making the bootable CD, you need to have a bootable image file. The image file can be an ISO file, which is a standard format for bootable CDs, or a floppy disk image file, which can be used to create a bootable floppy disk.
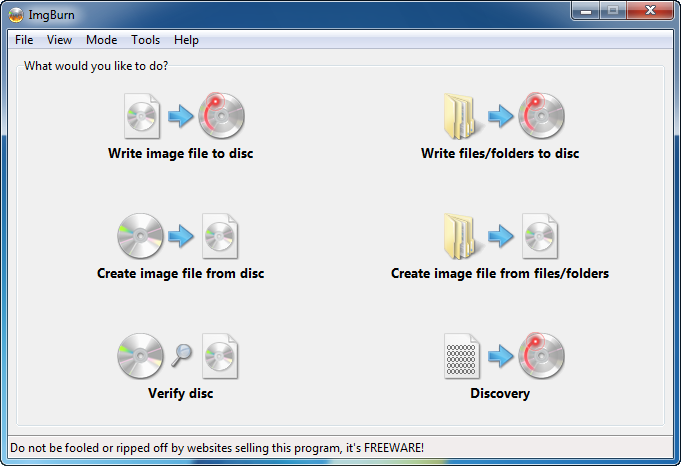
Burn the bootable image file to CD: Once you have the bootable image file, you can use a CD burning software to create the bootable CD. There are several free CD burning programs available such as InfraRecorder, BurnAware, and ImgBurn.
Install the CD burning software: To get started, you will need to download and install the CD burning software of your choice.
Launch the CD burning software: Once you have installed the CD burning software, launch it and select the option to create a new disc project.
Add the bootable image file: Next, you need to add the bootable image file to the CD burning software. This can typically be done by selecting the option to add files or by dragging and dropping the image file into the software.
Burn the CD: Once you have added the bootable image file to the CD burning software, you can proceed to burn the CD. You will need to select the option to burn the disc, specify the write speed and select the CD drive where the disc will be burned.
Verify the bootable CD: After burning the CD, you should verify that it is bootable. You can do this by inserting the CD into a computer and restarting the computer. The computer should boot from the CD and start the operating system or program specified in the bootable image file.
It’s important to note that the specific steps and options may vary depending on the CD burning software you use. Be sure to refer to the software’s documentation for more information.
Making a bootable CD can be a useful tool for troubleshooting, installing an operating system, or running a program that requires booting from a CD. By following these steps, you can create a bootable CD with ease.
Rufus is a free and open-source application for Windows that is used to create bootable USB drives. It is a fast, lightweight and easy-to-use tool that is designed to help you create a bootable USB drive quickly and efficiently. There are several advantages of using Rufus compared to other applications, which are:
Fast and efficient: Rufus is known for its fast and efficient boot creation process. It can create a bootable USB drive in just a matter of minutes, even for large operating system images.
Compatibility: Rufus supports a wide range of operating systems and file formats, including ISO, IMG, and ZIP files. This makes it an ideal choice for users who need to create bootable USB drives for different operating systems.
User-friendly interface: Rufus has a user-friendly interface that is easy to use, even for novice users. The interface is well-organized, and all the options are clearly labeled, making it easy to find what you need.
Portable: Rufus is a portable application, meaning that it does not require installation. You can simply download the application, and it is ready to use. This makes it ideal for users who need to create bootable USB drives on different computers.
Customization options: Rufus provides several customization options, such as the ability to format a USB drive, set the file system type, and choose the boot selection. This allows users to create bootable USB drives that are customized to their specific needs.
Free and open-source: Rufus is a free and open-source application, making it an ideal choice for users who do not want to pay for a bootable USB creation tool.
Creating a bootable USB drive can be useful in various scenarios such as installing an operating system, running a live OS, or testing hardware and software. Here’s a step-by-step guide on how to create a bootable USB drive using Rufus:
Download and install Rufus: You can download the latest version of Rufus from the official website (rufus.ie). The installation is straightforward, and you can follow the on-screen instructions.
Connect your USB drive: Connect the USB drive that you want to make bootable to your computer.
Launch Rufus: Open Rufus from the start menu or from the desktop icon.
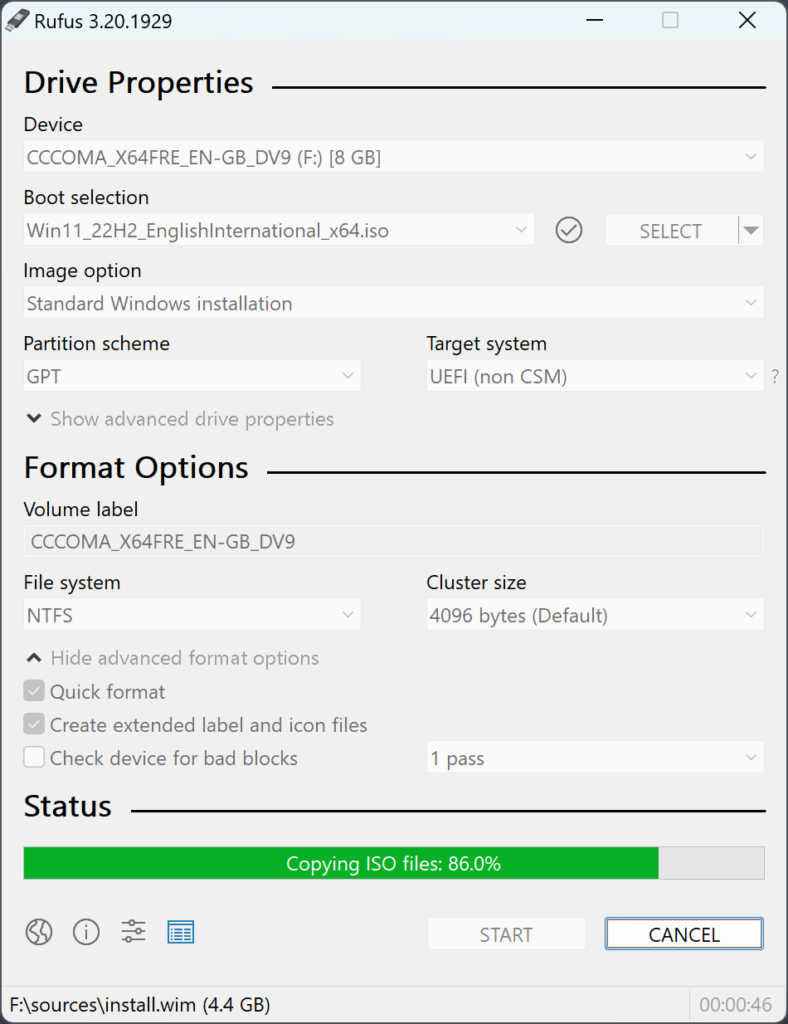
Select the USB drive: In the Rufus interface, select the USB drive from the “Device” dropdown menu. Ensure that the correct drive is selected to avoid data loss.
Select the boot option: In the “Boot selection” section, click on the “Select” button and browse to the ISO file of the operating system or any other bootable image you want to use.
Format the USB drive: In the Rufus interface, click the “Start” button, and Rufus will format the USB drive and copy the bootable image to it. The process may take several minutes, depending on the size of the ISO file.
Boot from the USB drive: Once the process is complete, you can restart your computer and set the boot priority to USB drive in the BIOS settings.
Completion: The computer should now boot from the USB drive, and you can follow the on-screen instructions to complete the installation or perform any other desired action.
By following these steps, you should be able to create a bootable USB drive using Rufus quickly and easily. It is important to ensure that the correct USB drive is selected to avoid data loss, and that the boot priority is set correctly in the BIOS settings to avoid booting issues.