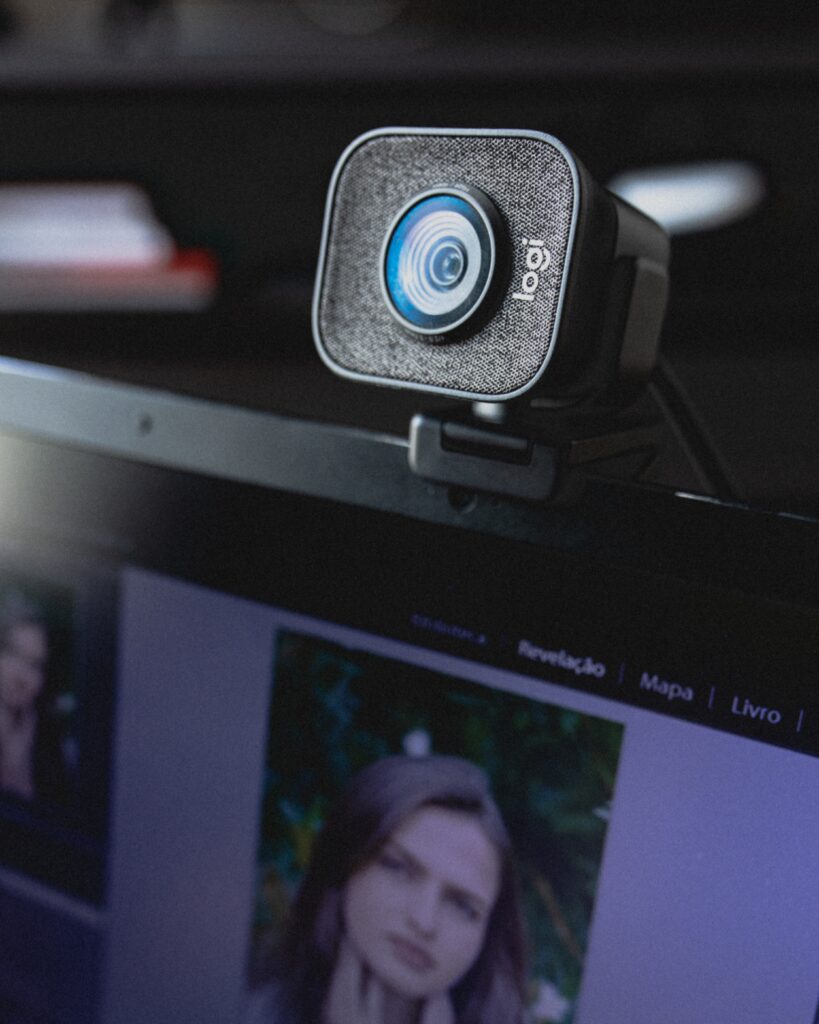
Previously, we have gone through general troubleshooting on Windows here. This blog is dedicated specifically to camera-related troubleshooting. The webcam has become more important for many home users since the pandemic began. It is especially useful to meet people virtually, be it for classes or work. This applies to specific platforms like Zoom, Microsoft Teams, or Google Meet. This blog will cover how you can troubleshoot when you are facing an issue with your webcam.
Checking for Connection
For users who are using an external webcam, your first step is checking for connection. You have to ensure that you plug the device in properly. After that, you should go to the Device Manager. On the list of devices, your webcam should show up under Cameras (below).
If it shows up like in the above screenshot, it is working properly. However, if you cannot see the device on the list, you can try scanning for hardware changes. First, click on Action on the menu bar of the Device Manager. Then, select “Scan for hardware changes.” If the webcam still does not show up, restart your computer and then repeat the process. If the issue persists, it is likely a connection problem. Please consider seeking professional IT support at CROS.
Updating the Camera on the Device Manager
To minimize the chance that the drivers are not up to date, you can also confirm using Device Manager. First, go to Device Manager. Next, you can right-click the camera and proceed with “Update driver.” Once the following screen shows up, you can select the first option.
Allowing Applications to Use Camera
In case that a specific program cannot use the camera, you can start by checking the privacy setting. In the Settings, select Privacy and, then, Camera, respectively. You will see the screen below.

