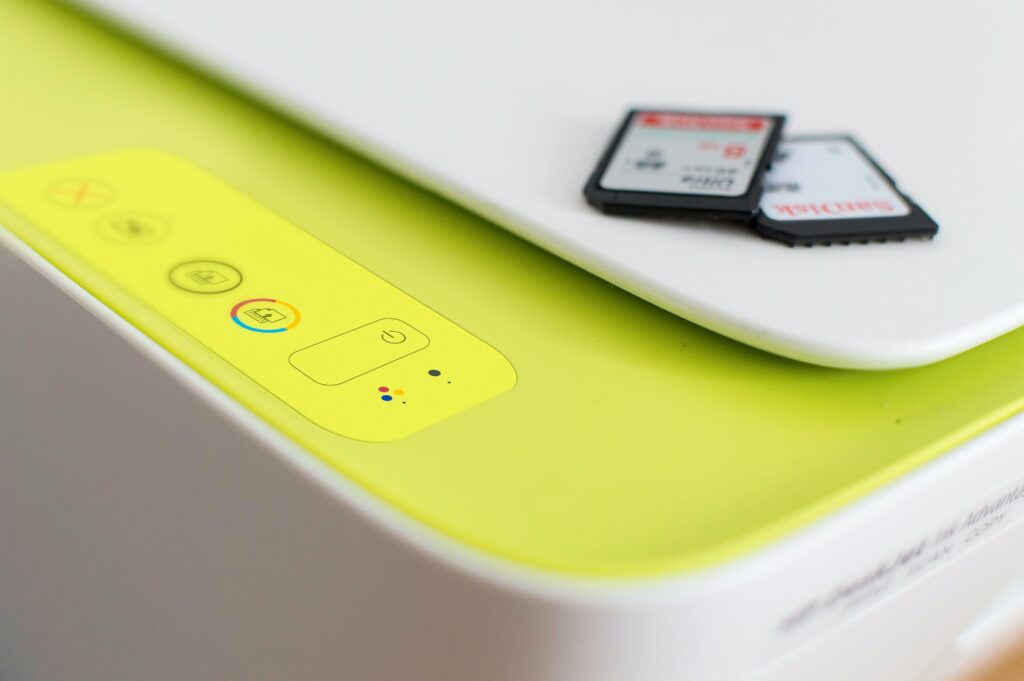
This blog will assist home users with the necessary steps to add a new printer, print a test page, set the default printer, and troubleshoot a printer, respectively. Even though different brands of printers might require different things, the steps should not vary too much. Please refer to this blog as a general guideline and if you run into problems, please contact CROS for further assistance.
Adding a new printer
The simplest way to go about adding a new printer is via the settings as follows:
- Access Window Settings by using the shortcut: Window Key (
) + I
- Select Devices
- Select Printers & scanner
- Choose “Add printers & scanners” then select the printer you would like to add from the list of devices detected.

Printing a test page
Once your printer has been added, it is recommended that you print a test page. Normally you can download the test page from the internet, but we will opt for an easier option, which is through the settings.
- Access Window Settings by using the shortcut: Window Key (
) + I
- Select Devices
- Select Printers & scanner

- Choose the printer, then select Manage
- Click Print a test page

Setting a printer as the default printer
If you have multiple printers, there is a way to set your go-to printer. To set up a default printer, you only need to follow the four steps below.
- Access Window Settings by using the shortcut: Window Key (
) + I
- Select Devices
- Select Devices and printers
- Right-click on the go-to printer and select “Set as default printer”

Troubleshooting the Printer
If the printer stops working, the best option for you is to run the troubleshooter. You should ensure that there are not any pending updates on your system because they could be causing the malfunctions. To utilize the troubleshooter, you just need to follow the below steps.
- Access Window Settings by using the shortcut: Window Key (
) + I
- Select Devices
- Select Devices and printers
- Right-click on the printer and select “Troubleshoot”

